
I decided to make Hawaiian Sweet Bread that is more like Buck’s (that was a long time ago) rather than Kings (which is everywhere). I had a recipe in my cookbook that I was toying around with that needed just a little more tweaking to get it to where I wanted it. Luckily it only took me two tries to get it just right.
The first batch of sweet bread that I made I treated as I would any yeast dough and kneaded it and let it rise. The end result was bread. Good bread but not Hawaiian sweet bread.
So after that loaf was eaten up I started on the second attempt. This time I decided to knead the dough as little as possible adding more sugar and an extra egg. Which resulted in a sticky mess, but the end result was worth it.
The closest thing that I can compare Hawaiian sweet bread to is Challah bread. Yet, it’s not the same. Hawaiian sweet bread is much sweeter with a moist center and a soft crust. A deliciously wonderful bread to eat plain or slathered with butter (my favorite) it also makes the best French toast and egg or tuna salad sandwiches.
HAWAIIAN SWEET BREAD
STEP 1
½ cup water
1 12oz. can evaporated milk
½ cup butter (1 stick)

Place step 1 in a microwave safe dish. Microwave for a total of 1 ½ minutes in 30 second intervals. All micros are different and your microwave may need 30 more seconds. This should bring your liquid up to 110 degrees. The butter will not be completely melted (but mostly melted) and that’s ok.
STEP 2
2 cups flour
1 ½ cups sugar
1 ½ tsp. salt
2 Tbsp. active dry yeast

In the bowl of your kitchen aide add step 2 and mix to blend. Pour step 1 into the bowl and mix to blend with a spoon or spatula.
STEP 3
5 large eggs

Attach the bread hook and turn mixer on med. Add one egg at a time while the mixer is on letting the mixer mix each egg into the dough before adding the next one.
STEP 4
5 cups flour

Start adding the remaining 5 cups of flour one cup at a time and mix on low until the dough starts to come together. It will look like a sponge. You will need all 5 cups of flour. The dough will be sticky.

At this point cover the dough with plastic wrap and let sit on the counter for about 2 hours until it has doubled.
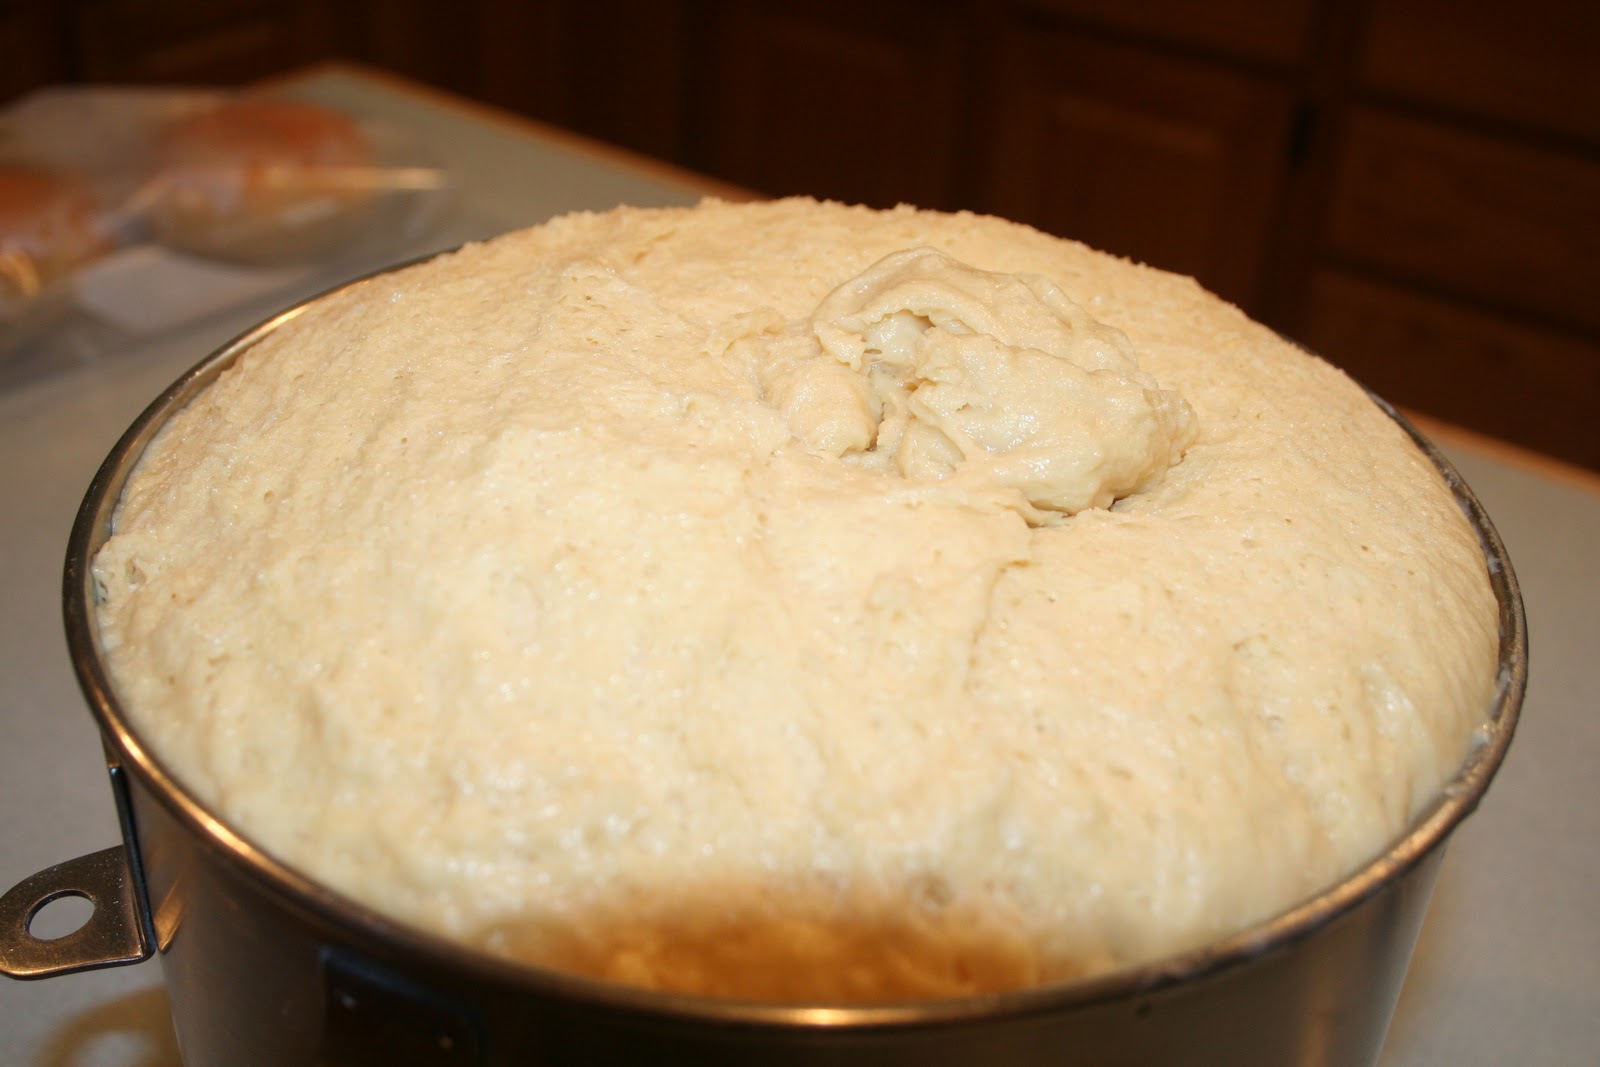
This is when the dough becomes a bit of a challenge.

After the dough has doubled, knock out the air and let it deflate a bit. Generously flour your counter and scrape the dough out of the bowl onto the counter. Divide the dough in half. Work with one section at a time. Flour your hands well and pat the dough to flatten it out. Fold dough into thirds, turn a quarter turn and fold it into thirds again. Do this a couple of times until your dough is manageable. Then shape into a ball and place in a pie plate that has been sprayed with pan coating. Repeat with the other half.

Cover with a clean kitchen towel and let rise for 20 minutes.
Bake in a 350 degree oven for 20 minutes
THEN
Turn down heat to 325 degrees and bake for another 25 – 30 minutes.
To check if the loaf is fully cooked; I judge first by color and then by tapping the top listening for a hollow sound.

Cool completely on a cooling rack before slicing.
No comments:
Post a Comment